Category: Game console maintenance methods

  • Outputs & Upscalers for Retro Consoles (2025 Guide)

    Outputs & Upscalers for Retro Consoles (2025 Guide)

    Outputs & Upscalers for Retro Consoles (2025 Guide)

    This guide compares AV, Component, SCART, and HDMI, explains when to use an adapter vs a dedicated upscaler (OSSC/Retrotink), and shows how to get a clean, low‑latency picture on modern TVs. Built for US players (NTSC‑U) using real hardware.

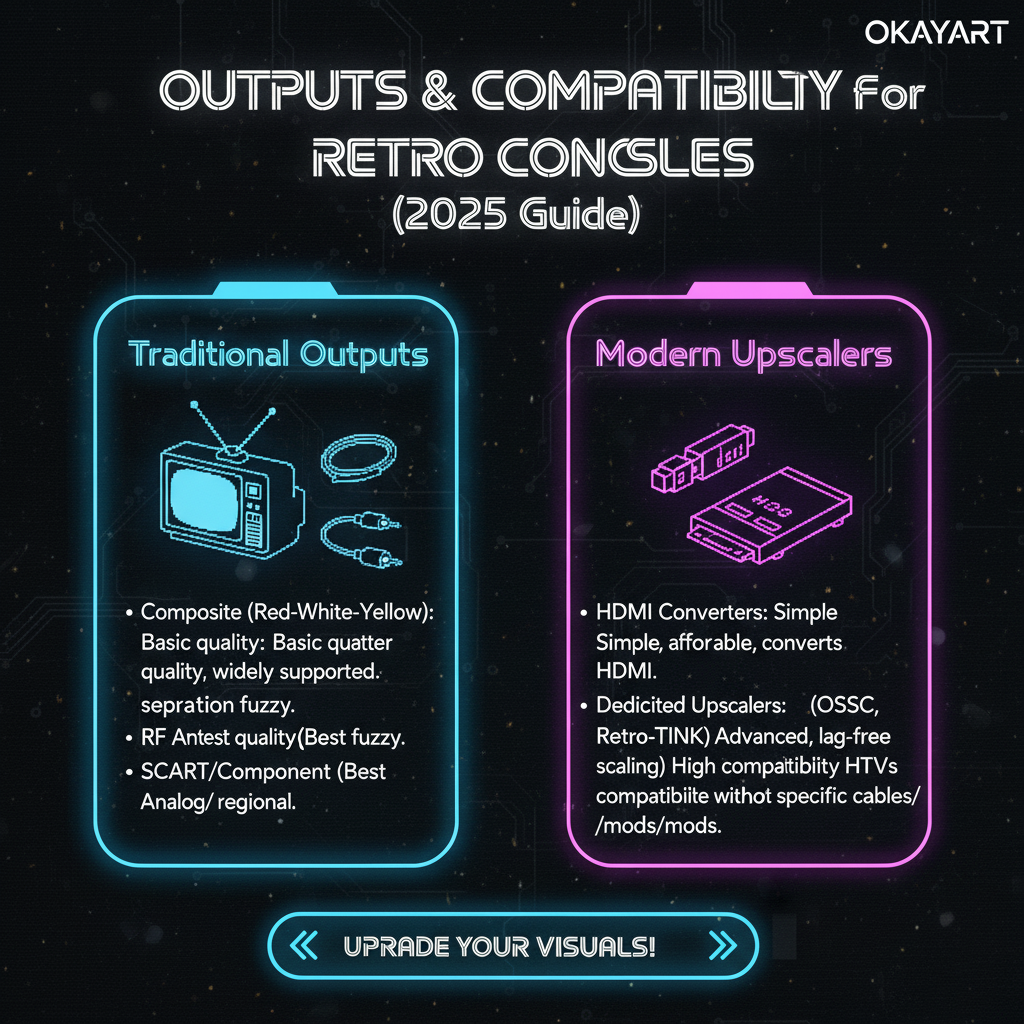
    • Best‑to‑worst quality (typical): HDMI ≥ RGB SCART ≥ Component > S‑Video > AV (Composite).
    • Cheap AV→HDMI dongles are hit‑or‑miss; a good upscaler is reliable for multi‑console setups.
    • Keep latency low: use Game Mode, avoid long conversion chains, and stick to decent cables.

    Signal ladder (quality · latency · cost)

    OutputQualityLatencyTypical cost pathNotes
    HDMIHighestLowestLowNative on some models or via mods/upscalers; plug‑and‑play.
    RGB SCARTHighLowMediumExcellent analog; needs compatible display or upscaler.
    Component (YPbPr)Medium‑HighLowLow‑MedSharper than AV; many TVs still accept over HDMI via scaler.
    S‑VideoMediumLowLow‑MedCleaner than AV; availability varies by console/TV.
    AV (Composite)LowLowLowestMost common baseline; soft image; many TVs drop analog inputs.

    Analog outputs (what to expect)

    AV (Composite)
    • Pros: Ubiquitous; simple wiring.
    • Cons: Soft image, color bleeding; many modern TVs reject analog.
    • Tip: If using AV→HDMI, pick powered adapters that handle 60 Hz properly.
    Component (YPbPr)
    • Pros: Noticeably sharper than AV; supports progressive scan on some consoles.
    • Cons: Still analog; cable quality matters.
    • Tip: For HDMI‑only TVs, run Component into an upscaler for clean 720p/1080p.

    HDMI (digital)

    • Pros: Plug‑and‑play on modern TVs; no analog noise; lowest maintenance.
    • Cons: Not all consoles have native HDMI; some “HDMI boxes” are just basic scalers with mixed quality.
    • Tip: Use certified cables, 6–10 ft. Avoid ultra‑long, thin, or “no‑name” HDMI cords.

    How to choose (quick rules)

    • Single console, simple path: If HDMI exists, use it. Otherwise try a decent powered AV→HDMI adapter.
    • Multiple consoles or quality focus: Go RGB/Component → upscaler → HDMI.
    • PAL hardware on US TV: Prefer a dedicated upscaler that outputs 60 Hz HDMI.
    • Lowest lag: Use Game Mode, pick native HDMI or good upscaler, avoid post‑processing.

    Cables & noise (avoid hum and shimmer)

    • Use short, shielded analog cables; avoid ultra‑thin AV leads.
    • Power all devices (console, scaler, TV) from a common surge‑protected strip to reduce ground loops.
    • For SCART: buy from reputable makers (correct pinout); avoid “sync on luma” confusion unless supported.
    • If you hear hum: try a different PSU, use ferrite cores, isolate audio path.

    Capture/stream quick start

    • Use the scaler’s HDMI OUT → capture card (1080p60 if possible).
    • If you need a TV and a capture feed, use an HDMI splitter that keeps the scaler’s timing intact.
    • Keep audio levels moderate; avoid clipping from boosted analog outputs.

    Troubleshooting

    • No signal: Ensure scaler/adapter is powered; try another HDMI port/cable; set scaler to a TV‑friendly mode.
    • Black‑and‑white: Color system mismatch (PAL into NTSC). Use NTSC‑U input or scaler outputting 60 Hz HDMI.
    • Shimmer/edge noise: Replace poor analog cables; reduce sharpness; check shielding.
    • Interlace combing: Enable the scaler’s deinterlacing for 480i content.

    FAQ

    Q: Is a $10 AV→HDMI adapter good enough?
    Sometimes for AV‑only consoles, but reliability and color handling vary. A dedicated upscaler is far more consistent.

    Q: OSSC vs Retrotink?
    OSSC is highly configurable with near‑zero lag; Retrotink is more plug‑and‑play with excellent analog cleanup. Both are great.

    Q: Does an HDMI mod add lag?
    Quality HDMI mods are effectively lag‑free; avoid unknown kits.

    Related guides

    OkayArt Games sells authentic hardware only. No ROMs/BIOS are included.

  • Modern TV Setup for Retro Consoles (2025 Guide)

    Modern TV Setup for Retro Consoles (2025 Guide)

    Modern TV Setup for Retro Consoles (2025 Guide)

    This guide shows the cleanest ways to connect retro consoles to modern TVs. You’ll learn which cables to use, when to pick an upscaler, how to set your TV for low latency, and what to do when there’s “no signal.” Built for US players (NTSC‑U), real hardware only—no ROMs/BIOS.

    • Pick the simplest path your console supports: native HDMI > AV→HDMI adapter > dedicated upscaler (OSSC/Retrotink).
    • Turn on Game Mode, disable overscan, and label the input on your TV.
    • If the image is black‑and‑white or “no signal,” it’s usually region/color or timing; see Troubleshooting.

    Outputs at a glance

    SignalQualityLatencyNotes
    AV (Composite)LowLowMost retro consoles; many modern TVs drop analog inputs.
    Component (YPbPr)Medium‑HighLowSharper than AV; still analog.
    SCART (RGB)HighLowExcellent analog RGB; requires compatible gear.
    HDMI (Digital)HighestLowestPlug‑and‑play on modern TVs.

    Choose your path to HDMI

    Path A: Native HDMI

    • Best if available. Some later consoles or re‑releases output HDMI directly.
    • Use a certified HDMI cable; avoid long, cheap cables.

    Path B: AV/Component → HDMI adapter

    • Simple & budget‑friendly. Works for AV output; quality depends on adapter.
    • Look for 60Hz support and decent scaling; avoid ultra‑cheap “no‑brand” boxes if possible.

    Path C: Dedicated upscaler (OSSC/Retrotink)

    • Highest analog fidelity. Best with RGB/Component; preserves low latency.
    • Great for collections with multiple consoles; costs more, but scales cleanly.

    Step‑by‑step setup

    A) HDMI connection

    1. Connect the console’s HDMI to a free HDMI port on your TV.
    2. Set the TV input to that HDMI port; label it (e.g., “Retro”).
    3. Turn on Game Mode; disable motion smoothing and overscan.
    4. Test with one game; if “no signal,” try another HDMI port/cable.

    B) AV → HDMI adapter

    1. Plug the console’s AV (yellow‑white‑red) into the adapter’s AV IN.
    2. Adapter’s HDMI OUT → TV HDMI IN. Power the adapter (USB).
    3. Set TV input; on the adapter, set resolution (720p/1080p) as needed.
    4. If the image is B/W or rolling, check region (NTSC‑U) and cable seating.

    C) Dedicated upscaler

    1. Console analog (RGB/Component/AV) → upscaler IN (match the signal).
    2. Upscaler HDMI OUT → TV HDMI IN; power the upscaler.
    3. Select input & scaling mode on the upscaler (line‑double, etc.).
    4. Enable TV Game Mode; adjust sharpness/scanline taste.

    TV settings for clean picture & low latency

    • Game Mode: ON (reduces processing lag).
    • Overscan: OFF (show full picture).
    • Motion smoothing/Noise reduction: OFF.
    • Input label: name it “Retro” to recall settings quickly.

    Latency basics

    Lag comes from scaling and processing. Native HDMI and good upscalers keep latency low; TV “Game Mode” often cuts 10–30 ms. Avoid long conversion chains and enable direct modes when available.

    Sample setups (quick picks)

    • NES/SNES/Genesis: AV → decent AV→HDMI adapter, or RGB/Component → upscaler.
    • PlayStation/PS2: Component/SCART → upscaler for best results; some models support HDMI adapters.
    • N64: Composite baseline; RGB/HDMI mods exist if you want higher fidelity.
    • Handhelds: Use docks/HDMI‑out models, or capture/display solutions; otherwise play natively.

    Troubleshooting (checklist)

    • No signal: Try another HDMI port/cable; ensure adapter/upscaler is powered; set TV input correctly.
    • Black‑and‑white: Region/color mismatch—use NTSC‑U input; reseat AV plugs; try another adapter.
    • No sound: Check white/red audio connections; TV audio input; adapter volume; try another cable.
    • Jumping image: TV rejects timing; set upscaler output to 60Hz/standard resolution.

    Recommended gear (quick list)

    • Certified HDMI cable (6–10 ft), avoid ultra‑long runs.
    • AV→HDMI adapter with 60Hz support and external power.
    • Dedicated upscaler (OSSC/Retrotink) for multi‑console analog.
    • Surge‑protected power strip; avoid cheap, unshielded AV cables.

    Related guides

    OkayArt Games sells authentic hardware only. No ROMs/BIOS are included.

  • Care & Maintenance: Keep Your Retro Console Fresh

    Care & Maintenance: Keep Your Retro Console Fresh

    Care & Maintenance: Keep Your Retro Console Fresh

    Brand‑new retro consoles deserve clean handling, safe power, and proper storage. This guide covers practical cleaning methods, what chemicals to avoid, how to store gear to prevent yellowing, and simple routines to keep picture and controls at their best. Built for US players (NTSC‑U) using real hardware—no ROMs/BIOS.

    • Use 90%+ isopropyl alcohol and microfiber for contacts/shells; avoid harsh cleaners (bleach, acetone, ammonia).
    • Store cool, dry, dark: about 18–24 °C (65–75 °F), 40–55% RH, away from UV; add silica gel.
    • Power matters: match voltage & polarity, use a surge‑protected strip, and quality PSUs.

    Shell & Screen Cleaning (HELM)

    Keep plastics and displays pristine with gentle, electronics‑safe methods. Always power down and unplug first, start dry, and spot‑test any liquid on an inconspicuous area before full use.

    • Dust first with a dry microfiber cloth.
    • Spot‑clean with distilled water or 90%+ IPA on microfiber; use light pressure.
    • Vents/crevices: soft brush or hand‑pumped blower; keep liquids away from openings.
    • Screens: lens cloth, straight edge‑to‑edge passes; dry immediately.
    • No acetone, ammonia, bleach, or abrasive powders—these can etch plastics/coatings.
    • Don’t soak seams/ports; avoid drips and puddles.
    • Don’t use close‑range high‑pressure canned air (risk of propellant frost marks).

    Method (step‑by‑step)

    1. Power off & unplug. Remove media; let the device cool.
    2. Dry dust. Wipe shell and screen with a clean microfiber to lift loose particles.
    3. Spot clean. Dampen microfiber with distilled water; for hard plastics (not coated displays), a few drops of 90%+ IPA. Wipe in straight lines.
    4. Detail. Soft brush/blower for vents and seams; never flood liquid into openings.
    5. Screen finish. Lens cloth only; if needed, a 1:1 distilled water:IPA mix on the cloth (not the screen), then dry at once.
    6. Final check. Ensure surfaces are dry and strain relief on cables is OK before powering on.

    Materials checklist

    • Microfiber cloths (separate for shell and screen)
    • Distilled water; 90%+ isopropyl alcohol (IPA)
    • Soft detailing brush; hand‑pumped blower
    • Lens cloth for displays

    Contacts & Connectors (clean picture, reliable reads)

    • Cartridge contacts: microfiber or lint‑free swab + 90%+ IPA; gentle straight strokes; let dry fully.
    • Ports (HDMI/AV/RGB): blow out dust; for oxidation use a tiny amount of contact cleaner (e.g., DeoxIT D5) on a swab, then dry. Avoid WD‑40‑type products.
    • SCART/Component: use reputable, shielded cables; verify pinout; seat firmly to reduce noise.

    Controllers (sticks, buttons, membranes)

    • Exterior: microfiber with a little IPA; dry thoroughly.
    • Sticky buttons: minimal IPA around the cap edge while pressing, then dry. For deep cleaning, refer to the model‑specific guide.
    • Stick drift: clean first; if no improvement, contact support or replace the module (avoid breaking warranty seals).

    Power Safety (protect your hardware)

    • Match voltage & polarity (check the PSU label). US mains: 120 V / 60 Hz.
    • Use a surge‑protected power strip; avoid daisy‑chaining cheap adapters.
    • If your PSU is 220–240 V only, use a proper step‑down transformer (adequate wattage).
    • Unplug during lightning storms or long storage.

    Storage & Anti‑Yellowing

    • Environment: cool, dry, dark—~18–24 °C (65–75 °F), 40–55% RH.
    • UV control: avoid direct sunlight; use UV‑blocking bins/bags if exposed.
    • Desiccants: add silica gel packets; replace when saturated.
    • Cable relief: coil loosely; avoid tight bends and weight on connectors.
    • Yellowing note: mainly UV + brominated ABS aging. We don’t recommend chemical “retrobright” on brand‑new shells—risk > reward.

    Cables & Coiling

    • Use short, shielded analog cables; for HDMI use certified 6–10 ft runs.
    • Use the over‑under coil method to reduce twist and stress; prefer Velcro straps over rigid ties.
    • Label cables (HDMI‑1 “Retro”, Component “PS2”) for quick setup.

    Maintenance Schedule (print‑friendly)

    IntervalTaskNotes
    Every sessionWipe screen/shell; tidy cables; Game Mode onPrevent buildup and lag
    MonthlyDust vents; clean controllers; check contactsUse blower/IPA + microfiber
    QuarterlyInspect cables/ports; test spare PSU; back up savesReplace failing cords; confirm polarity
    Before storagePower off/unplug; bag in dry, dark bin with silicaLabel contents; avoid tight coils

    When to Contact Support (don’t risk damage)

    • Burning smell, unusual heat, or bulging capacitors.
    • Persistent “no signal” across multiple cables/ports/adapters.
    • Intermittent power even with a known‑good PSU.
    • Visible cracks or liquid ingress.

    Need help? Email support@okayartgames.com or use the contact form. We usually reply within 24–48 h (Mon–Fri).

    FAQ

    Q: Is 70% alcohol OK?
    Use 90%+ isopropyl alcohol for electronics; lower concentrations dry slower and may leave residue.

    Q: Can I use compressed air?
    Yes, but use short bursts at a distance and keep the can upright to avoid propellant spray.

    Q: How do I prevent yellowing?
    Avoid UV, control temperature/humidity, and store in UV‑blocking bins; we don’t recommend chemical whitening for new plastics.

    Related guides

    Warranty note: Opening the console, liquid exposure, or unapproved mods can void coverage. When in doubt, contact support first.